Free · No sign-up · Works in your browser
Cross Stitch Pattern Maker
Turn a photo, a name or a phrase into a clean, printable cross stitch chart. Edit every stitch, print a multi-page PDF, then track your progress. Your photos never leave this device.
- Up to 300 × 300 stitches, 2–48 colours
- Vector PDF charts, Letter or A4
- Saved on your device, no account
How it works
From photo to pattern in five moves
Your picture is read on this device. Crop and rotation come first.
It is resampled to the width you choose; every square becomes one stitch.
Similar colours are grouped by how they look, down to your limit: 45 right now.
Each colour gets a unique shape, so the chart works in black and white.
Preview the stitched texture, then edit, print and track it.
Three ways in
Start from a photo, a name, or a single pixel
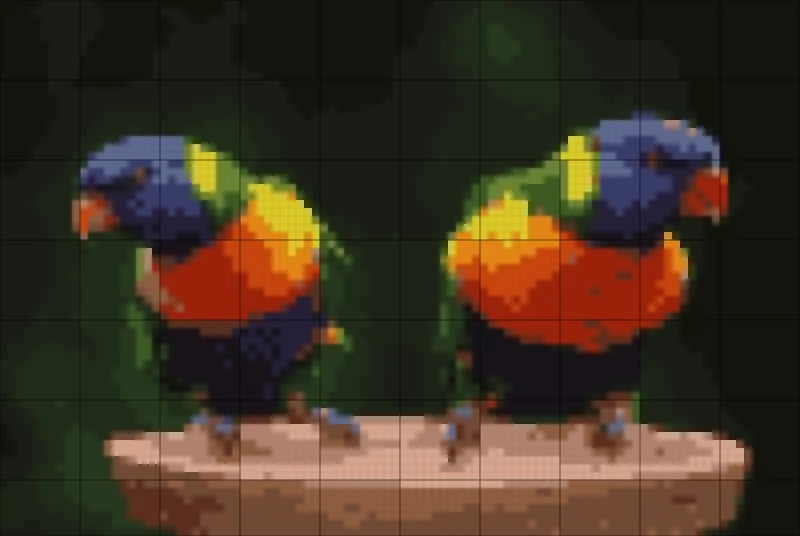
Photo to cross stitch
Pets, people, flowers and places. Crop, choose size and colours, remove the background.
Convert a photoNames & phrases
Three original stitch alphabets, borders, hearts and stars. Multi-line and centred.
Make a name patternPixel art
One pixel, one stitch. Exact colours, sharp edges, transparent pixels left as fabric.
Convert pixel artPrefer to draw? Print cross stitch graph paper or start a blank grid in the Studio.
Stitchability Check
Fewer lonely stitches. Every detail you choose to keep.
Converted photos scatter single stitches (“confetti”) that each need their own thread start. The Studio counts them openly, highlights them, and proposes merging each one into the neighbouring colour it touches most. You protect eyes and highlights first, preview every change, and undo anything.
- Isolated groups before
- 31
- After cleanup
- 5
- Stitches changed
- 41
Real numbers from the Garden Flower pattern with ten stray stitches added. No made-up quality scores.
How the check worksPrint & track
A chart you can print, and a place to keep your place
Overview · page map
3456Key · symbols · counts
- Deep Red
- Red
- Light Pink
- Total stitches
Chart · page 3 of 6
Free original patterns
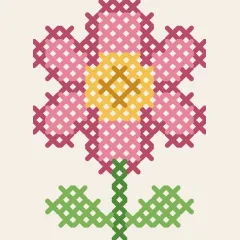
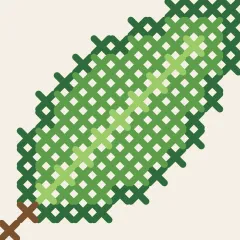
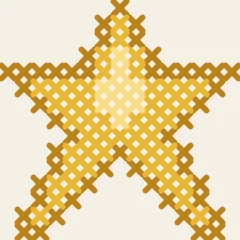
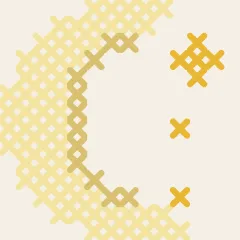
Twelve small designs, ready to print, edit or track
The complete guide
How to make a cross stitch pattern: the complete guide
Everything this cross stitch pattern maker does, why it does it that way, and how to get a chart you’ll enjoy stitching, from choosing a photo to marking the last stitch.
What a cross stitch pattern maker does
A cross stitch pattern (or chart) is a grid in which every square stands for one cross-shaped stitch on fabric, and every colour or symbol stands for one thread. Counted cross stitch is worked by reading the grid and counting squares on an evenly woven fabric such as Aida.
A cross stitch pattern maker is a tool that produces those grids for you. This one does five jobs, all inside your browser:
- Converts photos and pixel art into a grid of stitches with a limited set of colours.
- Sets text in stitch alphabets for names, initials and phrases.
- Edits any chart: draw, fill, select, recolour, check for scattered stitches.
- Prints a clean multi-page PDF with a symbol key and counts.
- Tracks the stitches you’ve finished, saved on your device.
People also call this kind of tool a cross stitch pattern generator or a cross stitch designer. The difference is mostly emphasis: a generator suggests automatic conversion; a designer suggests drawing and editing. Good results need both, which is why every chart you make here opens in an editor rather than ending as a fixed image. If you are curious about the limits of automation, read what automatic pattern generators can and can’t do.
Three ways to make a pattern
| Start from | Best for | Typical size | Tool |
|---|---|---|---|
| A photo | Pets, people, flowers, places, objects | 80–150 stitches wide | Photo to cross stitch |
| Text | Names, initials, dates, quotes, gift tags | 20–80 stitches wide | Cross stitch text generator |
| Pixel art or a sketch | Sprites, icons, motifs, borders | 16–64 stitches wide | Pixel art converter or blank grid |
You can combine them. Convert a photo of a house, then paste a family name underneath; or stitch a free pattern and add initials in the corner. Everything ends up as the same kind of editable chart. For planning a one-off piece from scratch, see how to design a custom cross stitch pattern, and for a repeatable process, the cross stitch designer workflow.
From photo to pattern, step by step
Converting a photo is the most popular way to make a custom cross stitch pattern, and the one where small decisions matter most.
- Pick a photo that will stitch clearly: one subject, soft light, a plain background. A detailed checklist is in how to choose a photo that will stitch clearly.
- Crop tightly. Every stitch spent on background is detail taken from the subject. Rotation from phone cameras is applied once by your browser.
- Choose the width. Start with 60 (small), 100 (medium) or 150 (large) stitches; the height follows the proportions.
- Limit colours. 10–16 is a sensible start for photos. The tool tells you both your maximum and the number it actually used.
- Remove the background by marking its colour as “no stitch”, so bare fabric shows around the subject.
- Open it in the Studio, run the Stitchability Check, fix eyes and edges by hand, and export.
Under the hood, the converter averages the photo into the grid, groups similar colours in a perceptual colour space (so groups match what your eye sees), and maps each stitch to the nearest group. It is deterministic: the same photo and settings give the same chart every time. The full walkthrough, with every setting explained, is in how to turn a photo into a cross stitch pattern.
Size, fabric count and materials
A chart has no physical size until you choose a fabric. Fabric count is the number of stitches per inch: 14-count Aida gives 14 stitches per inch. So:
finished size = stitches ÷ count · 140 stitches on 14-count = 10 inches (25.4 cm)
| Stitches | 11-count | 14-count | 16-count | 18-count |
|---|---|---|---|---|
| 50 | 4.5 in | 3.6 in | 3.1 in | 2.8 in |
| 100 | 9.1 in | 7.1 in | 6.3 in | 5.6 in |
| 150 | 13.6 in | 10.7 in | 9.4 in | 8.3 in |
Add unstitched fabric around the design for hooping and framing; 3 inches (7–8 cm) on every side is a common allowance. Evenweave and linen are usually stitched over two threads, so 28-count evenweave behaves like 14-count Aida. The Studio’s Project panel calculates stitched size and fabric size in inches and centimetres for 11, 14, 16, 18 or any custom count, and every PDF prints them on its first page. Read understanding Aida count and finished design size for evenweave, “over one” and resizing.
For materials, a reliable starting combination is 14-count Aida, two strands of six-strand cotton floss and a size 24 tapestry needle. Coarser fabric takes more strands, finer fabric fewer. The full table and coverage test are in choosing fabric, thread and needles.
Colours, symbols and thread
Every colour in a chart gets a symbol, a small shape printed in each square. Symbols let you follow a chart in poor light, on a black-and-white printout, or if you see colours differently. This pattern maker uses 51 distinct vector shapes, so every active colour has its own symbol, and they stay distinguishable in grayscale.
Colours themselves are honest RGB values with plain names (“Forest Green”, “Light Peach”). We deliberately don’t label them with thread brand codes: matching would need a licensed colour table, and even then a screen colour can only approximate a dyed thread under real light. Screens emit light, thread reflects it, and two colours can match under one lamp and not another. The practical answer is to choose floss by eye in daylight with the printed key beside you. The reasons are explained in why screen colours and embroidery floss look different.
In the Studio’s Colours panel you can rename any colour (names print in the key), change it, swap its symbol, merge it into another colour, remove unused colours, or turn a colour into “no stitch” to drop a background. Every change updates the grid, the symbols and the stitch counts, and every change can be undone.
Making a chart easy to stitch
Automatic conversion tends to scatter single stitches of one colour among others: stitchers call this confetti. Each isolated stitch may mean starting and finishing a thread for one cross. A few are part of the picture; hundreds make a project tedious.
The Stitchability Check measures this openly. It counts your stitches, the colours actually used, and how many connected regions each colour forms (stitches connected edge to edge). It then finds isolated groups, regions of one or two stitches by default, and highlights them on the chart.
- Protect deliberate details (an eye highlight, the dot of an i) by selecting them.
- Preview the cleanup: each unprotected isolated group is merged into the neighbouring colour it touches most, and you see exactly which squares change.
- Apply it, or discard it. It can be undone later like any edit.
- If the problem is too many similar shades, Reduce colours merges the most similar pair repeatedly and lists every merge first.
There is no invented “quality score” and no promised completion time, just the numbers and a short explanation. The method is covered in how to reduce confetti stitches without losing detail. If you are new to stitching, start with designs that have few isolated stitches; our guide to choosing a manageable beginner project lists the criteria.
Names, letters and alphabets
Text needs a different approach from photos. Computer fonts shrunk onto a coarse grid lose strokes and turn curves lumpy, so the cross stitch text generator uses stitch alphabets, drawn square by square and stored as editable data:
| Alphabet | Capital height | On 14-count | Best for |
|---|---|---|---|
| Hearth Block | 7 stitches | 0.5 in | Names, phrases, samplers |
| Sprig Mini | 5 stitches | 0.36 in | Dates, tags, bookmarks |
| Ribbon Rounded | 14 stitches | 1.0 in | Single words, nursery pieces |
Type several lines, align them, adjust letter and line spacing, add a border (single, double, dashed or geometric) and ornaments such as a heart, star or leaf, then open the result in the Studio. Characters an alphabet can’t stitch are named in a warning instead of silently disappearing. Browse every glyph on the cross stitch alphabet page, and read how to make a cross stitch name pattern and how to choose cross stitch lettering and fonts.
Pixel art and hand-drawn designs
Pixel art is already a grid, so a good converter should change nothing but the format. Pixel art mode samples the exact centre of each pixel instead of averaging, keeps the original colours, detects sprites that were saved enlarged, and turns transparent pixels into bare fabric. Details are in pixel art to cross stitch: keeping edges sharp.
If you prefer drawing, print cross stitch graph paper at the square size you like, sketch with pencils, then redraw in a blank Studio grid to get symbols and counts. See how to use cross stitch graph paper to design by hand.
Printing your chart
A chart is only useful if it prints well. Exports are vector PDFs (sharp at any zoom) in US Letter or A4, portrait or landscape, with four square sizes. A PDF contains:
- an overview page with the whole design, finished size, fabric size and a map showing which page covers which area;
- a key with each symbol, colour, name and stitch count;
- chart pages with numbered bold lines every ten stitches, centre arrows, page numbers, a mini location map, and a couple of shaded overlap rows so pages line up.
Choose colour with symbols, black-and-white symbols (ideal for mono printers), or colour blocks. Print at Actual size / 100%. You can also download a PNG of the chart, a PNG of the simulated stitched look (clearly a simulation, not a photo), or a JSON project file as a backup. See how to print a multi-page cross stitch chart and how to read a cross stitch chart and its symbols.
Stitching and tracking progress
Once you start stitching, the cross stitch tracker keeps your place. Tap single stitches, whole rows or dragged areas; choose one colour to dim the rest and mark only that colour; switch to a calm focus mode with no navigation and no ads. Progress is the number of finished stitches divided by all stitches, so empty squares never count and it can’t pass 100%.
Progress and projects are saved in your browser on your device, automatically and in small transactions; the indicator says “Saved on this device” only after the browser confirms. This is not a cloud backup: clearing site data removes it, so download a project file now and then. If you later edit the chart in a way that changes which squares are stitched, you choose between editing a copy and restarting progress, and old progress is never laid over a different chart. For technique, see how to track cross stitch progress in your browser and how to start and finish a thread without knots.
Free patterns and licensing
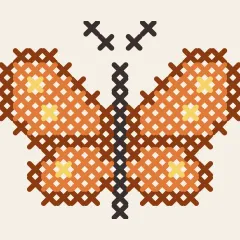
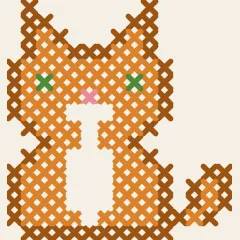
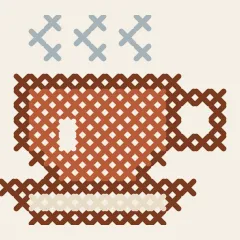
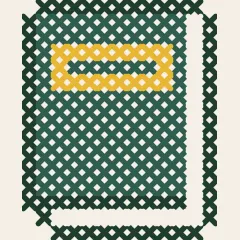
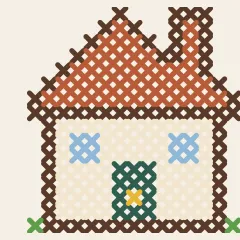
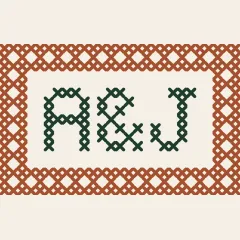
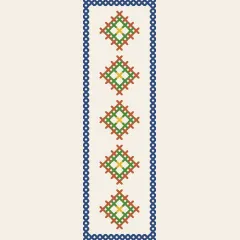
The free cross stitch patterns here were designed for this site: a heart, a flower, a leaf, a star, a moon, a butterfly, a cat, a cup, a book, a cottage, an initials frame and a bookmark. Each page shows the chart, a stitched-look preview, the key with counts, finished sizes on four fabric counts and the number of isolated groups, and lets you download a PDF, edit the design or start tracking. They’re licensed CC BY 4.0, so you can stitch, gift and sell finished pieces. Start with the easy patterns for beginners or the small cross stitch patterns, which list exact sizes.
When you use free patterns from anywhere, check the chart, the key and the licence first; how to judge free cross stitch patterns has a checklist. And for quick projects, small cross stitch patterns: sizes, ideas and finishing covers cards, ornaments, magnets and bookmarks.
Patterns you create from your own photos and words are yours; we never receive them. Images that belong to someone else, including characters and logos, keep their owners’ rights.
Worked example: tulips, start to finish
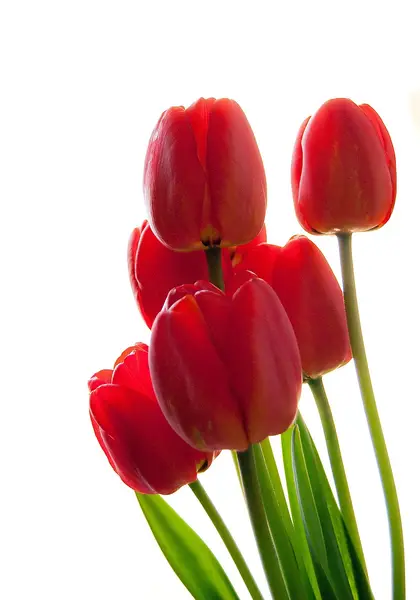
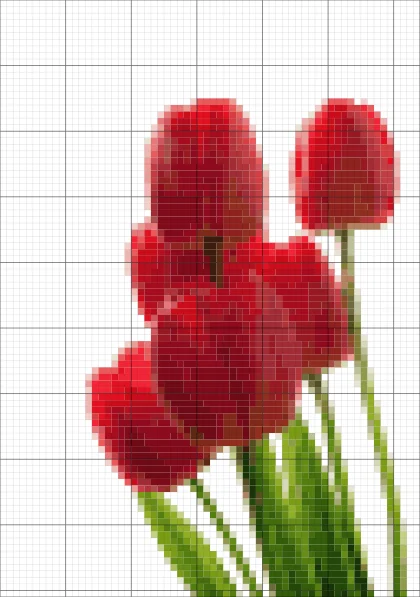
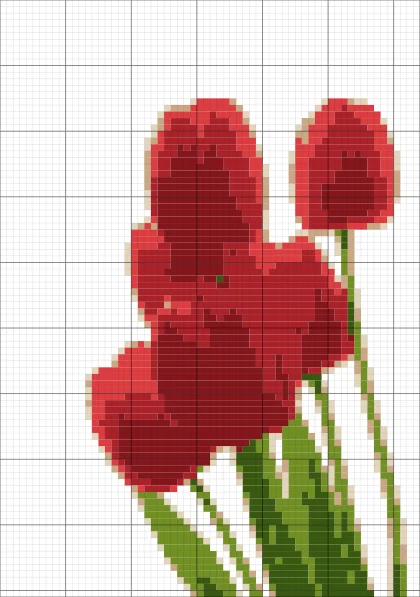
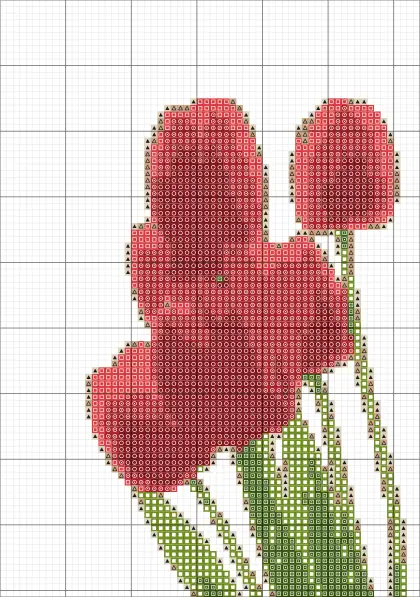
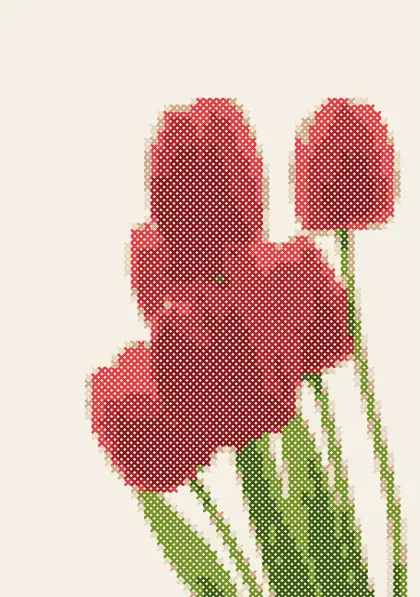
To show what the decisions above look like in practice, here is the tulip photo used in the film at the top of this page, converted with the real engine. Nothing in these numbers is invented; you can reproduce them with the “Red tulips” sample in the photo converter.
- Source. A licensed photo of red tulips on a white background: one subject, strong contrast, plain background. A good candidate by every test in the photo checklist.
- Size. 80 stitches wide. The photo’s proportions give 114 stitches tall. On 14-count Aida that is about 5.7 × 8.1 inches (14.5 × 20.7 cm) of stitching; with 3-inch margins you would cut roughly 11.7 × 14.1 inches of fabric.
- Colours. A 12-colour limit. The converter uses reds from deep crimson to pink highlights, several greens for stems and leaves, and near-whites for the background.
- Background. The near-white colours are set to “no stitch”, so the flowers sit on bare fabric. That removes thousands of white stitches that would add hours without adding anything to the picture.
- Check. The Stitchability Check shows where shading between two reds produced scattered single stitches. Cleanup merges most of them into the neighbouring red; the tiny yellow-green stamens are protected first so they survive.
- Print. On US Letter with standard 3.2 mm squares, the chart splits across a handful of pages, preceded by the overview with its page map and the colour key with stitch counts.
The same photo at 64 stitches with an 8-colour limit, the version shown in the film above, is simpler: it keeps the shapes of the five blooms but loses some petal shading. Neither is “right”; one is a weekend project, the other a richer piece. That trade-off, size and colours against time and detail, is the core decision in every photo pattern.
Planning a project: size, time and materials
Before you print anything, a five-minute plan prevents most disappointments.
1. Decide where it will live
A card, a 4-inch hoop, an 8 × 10 frame and a cushion front need very different sizes. Measure the space, subtract room for a border or mount, and convert to stitches by multiplying inches by your fabric count. An 8 × 10 frame with a mat opening of about 6.5 × 8.5 inches holds roughly 91 × 119 stitches on 14-count.
2. Estimate the effort honestly
Total stitches is the best single measure of effort, and the Studio and every PDF state it exactly. Stitching speed varies enormously between people and between charts: large single-colour areas go quickly, confetti-heavy areas slowly. Rather than trusting any formula, time yourself on the first 100 stitches of your chart and multiply. That gives you a personal estimate no website can.
| Design size | Stitches | On 14-count |
|---|---|---|
| 20 × 20 | 400 | 1.4 × 1.4 in |
| 50 × 50 | 2,500 | 3.6 × 3.6 in |
| 100 × 100 | 10,000 | 7.1 × 7.1 in |
| 150 × 150 | 22,500 | 10.7 × 10.7 in |
| 200 × 200 | 40,000 | 14.3 × 14.3 in |
Photo patterns with a removed background have fewer stitches than the full rectangle; the chart’s own count is the one to trust.
3. Gather materials
- Fabric cut to the stitched size plus margins on all sides.
- Thread in every colour of the key. The key lists stitches per colour; colours with a few hundred stitches rarely need more than one skein, colours with thousands may need several. We don’t print skein numbers because usage depends on strands, fabric, tension and waste.
- Needle: a blunt tapestry needle sized to the fabric.
- Hoop or frame, small scissors, and something to mark your progress.
4. Prepare the chart
Rename colours with the threads you actually bought, so the printed key matches your stash. If two threads you chose look too alike, change one symbol to something very different. Then print, or open the chart in the tracker on a tablet.
Troubleshooting common results
| What you see | Likely cause | What to try |
|---|---|---|
| The subject is tiny and blurry | Too much background in the frame | Crop tighter before converting |
| Faces look flat or “posterised” | Too few colours for skin shading | Raise the colour limit by 4–6; check light in the photo |
| Lots of speckled single stitches | Noisy source, too many colours, dithering | Lower colours, turn off dithering, run cleanup |
| Background takes half the stitches | Plain background converted as colours | Mark its colours as “no stitch” |
| Dark areas are one big blob | Underexposed photo | Raise brightness slightly (Advanced) or pick a brighter photo |
| Two important colours merged | Automatic grouping chose a different split | Raise the limit, or recolour that area by hand in the Studio |
| Pixel art edges look soft | Converted in photo mode or as JPG | Use pixel-art mode with a PNG, at native size |
| Image is sideways | Rare: an app stripped orientation data | Rotate in the Crop & rotate step |
| Letters look uneven | Computer font instead of a stitch alphabet | Use the text generator’s stitch alphabets |
| Printed squares are slightly too small | “Fit to page” in the print dialog | Print at Actual size / 100% |
| Symbols hard to tell apart | Similar shapes on similar colours | Change one symbol in the Colours panel |
| Progress disappeared | Different browser, private window or cleared site data | Import a backup file; projects live in one browser only |
Pattern maker, kit or bought chart?
A pattern maker isn’t always the best way to get a chart. Each route has strengths:
| Route | Best when | Trade-offs |
|---|---|---|
| Make your own (this site) | The subject is personal: a pet, a home, a name, a date | You make the design choices; automatic conversion needs a short editing pass |
| Free original patterns | You want something quick and tested-looking to start with | Limited choice; check each pattern’s licence |
| Designer charts | You want an artist’s style and a polished composition | Paid; usually personal-use licences |
| Kits | You want fabric, threads and chart together | Less flexible; materials are chosen for you |
Many stitchers mix them: a kit for a first project, a free pattern for a gift, and a custom chart for the piece that matters most. When you buy designer charts or kits, you’re supporting the people who keep the craft’s design tradition alive.
Charts for low vision and colour blindness
Cross stitch is very adaptable, and the charts can be too:
- Bigger squares. Export with the 5.5 mm “extra large” square size, and choose landscape if it reduces page turns.
- Symbols, not colours. Every colour has a unique shape; black-and-white symbol charts don’t rely on colour at all.
- One colour at a time. In the tracker, selecting a colour dims everything else and highlights its symbol.
- Keyboard editing. The Studio’s cell editor and keyboard cursor let you change any square by row and column without a mouse.
- Coarser fabric. 11-count Aida has larger, easier-to-see holes.
The accessibility statement lists what has been tested and the known limits.
Glossary
- Aida
- A cotton fabric woven in blocks with visible holes; each block takes one cross stitch.
- Count
- Stitches (Aida) or threads (evenweave, linen) per inch. Higher count, smaller stitches.
- Evenweave / linen
- Fabrics of single, evenly spaced threads, usually stitched over two threads.
- Floss
- Six-strand embroidery cotton, separated and recombined into the number of strands you need.
- Strand
- One of the six fine threads in floss. Two strands on 14-count is the common default.
- Key (legend)
- The list matching each symbol to a thread colour, usually with stitch counts.
- Symbol
- The shape printed in a chart square that identifies its thread.
- No-stitch square
- An empty square: the fabric shows through.
- Confetti
- Scattered single stitches of one colour, each needing its own thread start.
- Region
- Same-colour stitches connected edge to edge.
- Overlap
- Rows or columns repeated on neighbouring chart pages to help line them up.
- Quantization
- Reducing an image’s colours to a small palette.
- Loop start / waste knot
- Ways to begin a thread without a knot on the back.
Every guide
Each guide answers its question in the first paragraph, shows an example from these tools, and links to a pattern to practise with.
Making patterns
Lettering and design
Stitching and finishing
Printing and tracking
Questions, answered
Is this cross stitch pattern maker free?
Yes. Converting photos, making name patterns, editing, PDF export and progress tracking are free, with no account, watermark or paid tier.
Are my photos uploaded?
No. Photos are converted inside your browser and are not sent to a server. Only the finished stitch grid is saved, on your device.
Will the colours match my embroidery floss?
Only approximately. Charts use custom on-screen colours with plain names, not thread brand codes. Choose floss by eye in daylight using the printed key.
How big will my pattern be?
Divide the stitches by your fabric count: 100 stitches on 14-count Aida is about 7.1 inches (18 cm). The tool calculates it for 11, 14, 16, 18 or any custom count.
Can I print the pattern?
Yes. Export a vector PDF in US Letter or A4 with an overview page, a colour and symbol key, and numbered multi-page charts.
Where is my progress saved?
In your browser on this device. It is not a cloud backup, so download a project file to keep a copy or move it to another device.
Thread the needle.
Your next pattern is a photo, a name, or a blank grid away. It’s free, and it stays on your device.